Regular vape device maintenance helps your device deliver better flavour, smooth vapour, and reliable performance. Moreover, proper care extends the lifespan of coils, tanks, and batteries so you can get more value from your equipment.
This vape maintenance guide covers daily cleaning, coil care, tank maintenance, and battery protection. You will also learn when to replace worn parts and how to avoid common mistakes.
Why Is Regular Vape Device Maintenance Important?
Regular cleaning keeps your vape device performing at its best. E-liquid residue, condensation, and dust can affect flavour, airflow, and overall vapour quality. Poor maintenance can lead to burnt coils, weak performance, or leaking.
Good vape coil maintenance can also reduce the risk of a burnt vape coil. Meanwhile, cleaning the tank and checking seals can help prevent vape leaking.
Quick Vape Device Maintenance Checklist
A simple routine can keep your device clean and reliable. However, different components need attention at different times.
Daily Maintenance
- Wipe the mouthpiece with a clean, dry cloth.
- Check e-liquid levels to prevent dry hits.
- Look for signs of condensation or vape leaking.
- Wipe excess e-liquid from the tank, pod, and connection points.
- Check the device for unusual heat or performance changes.
Weekly Maintenance
- Empty and clean the tank or reusable pod.
- Learn how to clean vape tank parts before changing flavours.
- Wipe the airflow and connection areas carefully.
- Check the coil for darkening or reduced flavour.
- Inspect the charging port for dust and moisture.
Monthly Maintenance
- Deep clean reusable components and removable parts.
- Inspect seals, O-rings, and the tank for damage.
- Replace worn coils or damaged parts when needed.
- Clean vape charging port areas carefully and keep them completely dry.
- Review charging habits to help extend vape battery life and maintain consistent performance.
How to Clean a Vape Tank Properly
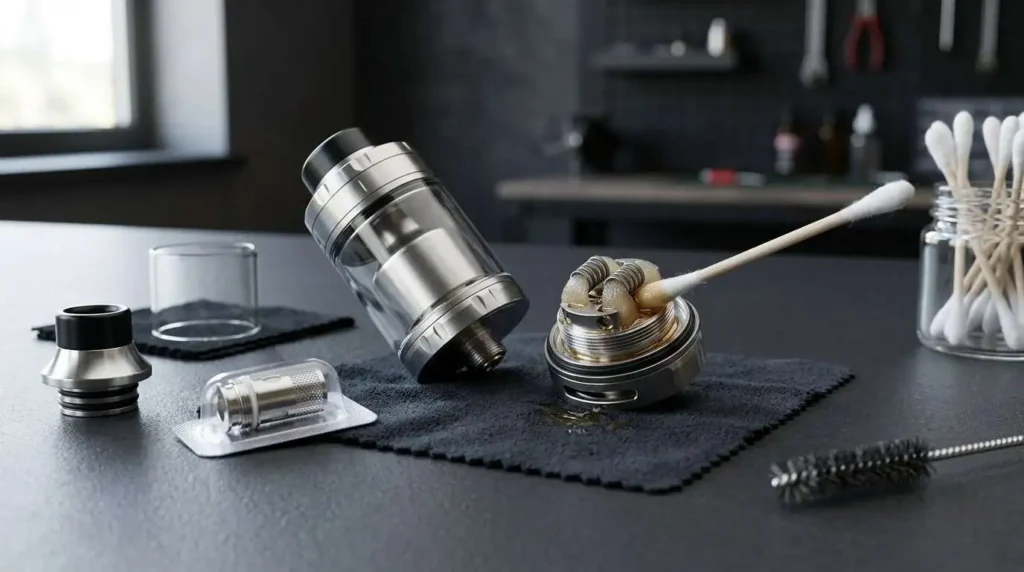
Knowing how to clean a vape tank correctly helps remove old e-liquid residue and unwanted flavours. First, empty the tank completely. Then, disassemble removable parts carefully.
Rinse the tank parts with warm water and allow them to dry completely. Then, wipe the connection points and mouthpiece with a clean cloth. Avoid using liquid cleaners on electronic parts.
How to Clean and Maintain Vape Coils
Proper vape coil maintenance can improve flavour and help you avoid replacing vape coils too often. Although some removable coils can be rinsed carefully, most coils need replacement when performance declines significantly.
When Should You Replace a Vape Coil?
Most coils need replacement when their performance declines. The lifespan depends on your e-liquid, vaping frequency, and wattage settings. Replace the coil when cleaning no longer improves performance or when the device consistently delivers poor flavour.
Signs of a Burnt or Worn Coil
Common signs include:
- A persistent burnt taste
- Weak or muted flavour
- Reduced vapour production
- Dark or thick residue
- Gurgling or unusual sounds
A burnt vape coil should generally be replaced rather than reused. Continuing to vape with a damaged coil may result in a poor experience and affect the device.
How to Make Vape Coils Last Longer
To make vape coils last longer, always prime a new coil before use. Let the e-liquid saturate the coil fully before vaping. Avoid chain vaping and use e-liquids that are compatible with your coil type. Regular tank cleaning also reduces residue around the coil.
How to Clean Vape Pods and Connection Points
Vape pods can collect condensation, e-liquid residue, and dust during regular use. Therefore, cleaning them helps maintain consistent performance. Use a clean, dry, lint-free cloth to wipe the pod contacts and the device connection points. For stubborn residue, a dry cotton swab can help. For RELX pods and similar compatible pods, check the manufacturer guidance before cleaning. Regular cleaning can improve performance and make basic vape troubleshooting easier when flavour or vapour quality changes.
How to Extend Vape Battery Life
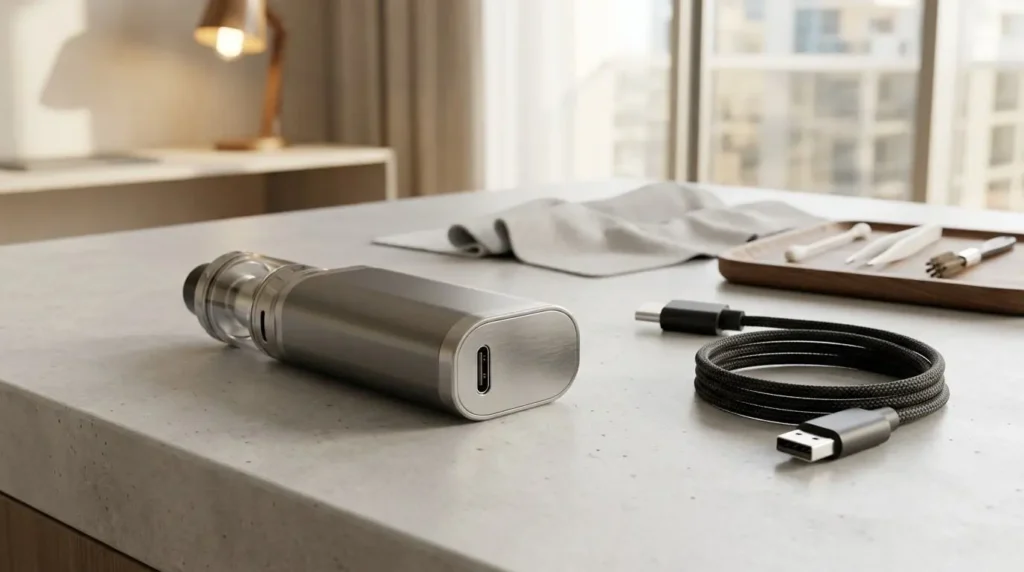
Good charging habits can help improve vape battery life and keep your device working reliably. Charge with compatible cables, avoid overcharging, and do not let the battery drain completely before recharging. Explore the hardware and accessories range to find compatible charging cables and accessories for your device.
Moreover, avoid exposing your vape to extreme heat, especially inside a parked car in Dubai. High temperatures can affect battery performance and reduce its overall lifespan. Avoid unnecessary charging and disconnect the device once it has finished charging. Finally, store your vape safely when not in use.
How to Clean a Vape Charging Port
A dirty charging port can cause poor connections and may explain why your vape is not charging properly. First, disconnect the device from all power sources. Inspect the port under good lighting for dust, lint, or e-liquid residue. Then, gently remove loose debris using a clean, dry cotton swab or soft toothpick. Afterward, wipe the area carefully and ensure it is completely dry before charging.
Common Vape Maintenance Problems and How to Prevent Them
Even well-maintained devices can develop problems over time. However, regular cleaning and proper use can prevent many issues. Vape leaking often results from damaged O-rings, loose tank connections, or incorrect coil installation. Weak flavour or vapour can also result from residue buildup or an ageing coil. Likewise, a dirty charging port may cause inconsistent charging. For users who want to reduce maintenance effort, TEREA sticks are sealed tobacco sticks for IQOS ILUMA that require no coil cleaning or tank maintenance.
Common Vape Maintenance Mistakes to Avoid
Simple maintenance mistakes can shorten the lifespan of your device and its components. Therefore, always clean each part correctly and use compatible equipment.
Avoid these common mistakes:
- Cleaning electronic components with water or other liquids.
- Reusing a severely burnt vape coil for too long.
- Overfilling the tank or ignoring damaged seals.
- Using incompatible coils, pods, or charging equipment.
- Charging a damaged or unusually hot device.
- Leaving e-liquid residue on pod contacts or connection points.
- Ignoring dust and moisture around the charging port.
- Exposing the device to excessive heat.
Moreover, never force components together if they do not fit correctly. Check your device regularly and replace worn parts to maintain consistent performance.
When Should You Replace Your Vape Parts?
Vape parts wear out at different rates, so replacement depends on their condition and performance. Replace a coil when flavour weakens or burning taste appears. Moreover, replace cracked pods or tanks, damaged seals, and worn O-rings to help prevent vape leaking. You should also replace the charging cable if it shows damage or creates inconsistent connections. Regular vape device maintenance helps you identify worn components early. Therefore, inspect your vape regularly and use compatible replacements.
For users who find coil and tank replacement inconvenient, blade-free heated tobacco devices like IQOS ILUMA use sealed TEREA sticks with no heating element to clean or replace.
Frequently Asked Questions
How often should I clean my vape device?
Clean the mouthpiece and connection points regularly. Moreover, clean tanks or reusable pods weekly and perform deeper cleaning monthly.
Can I wash a vape coil with water?
Some removable coils can be rinsed with water. However, water cannot restore a severely burnt or worn coil, so replacing it is usually the better option.
How often should I replace a vape coil?
Most coils last from several days to a few weeks, depending on use and e-liquid. Replace them when flavour weakens, vapour production drops, or a burnt taste appears.
How can I make my vape battery last longer?
Use compatible charging equipment, avoid excessive heat, keep the charging port clean, and follow manufacturer instructions for charging habits.
Can I clean a vape tank with water?
Yes, you can rinse most removable tank components with warm water. However, dry them completely before reassembly and keep water away from electronic parts.